Lessno07 受動ブザー
このレッスンでは、受動ブザーを使用する方法を学習します。
受動ブザーで、アルト・ド(523Hz)、レ(587Hz)、ミ(659Hz)、ファ(698Hz)、ソ(784Hz)、ラ(880Hz)、シ(988Hz)、ド(1047Hz)の音を鳴らします。
必要な部品
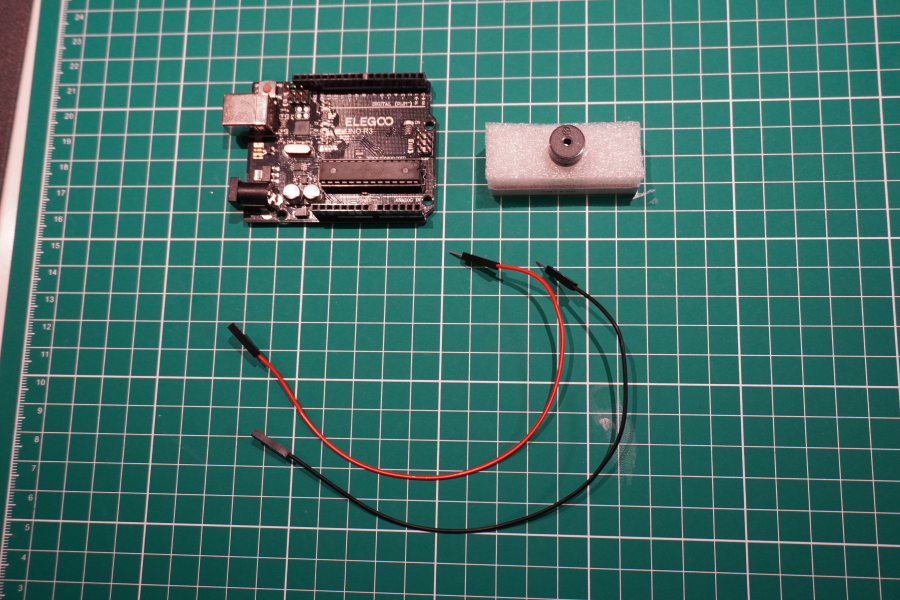
必要な部品は以下になります。
- Elegoo UNO R3 x 1
- Passive Buzzer x 1
- F-M Wire x 2
リンク
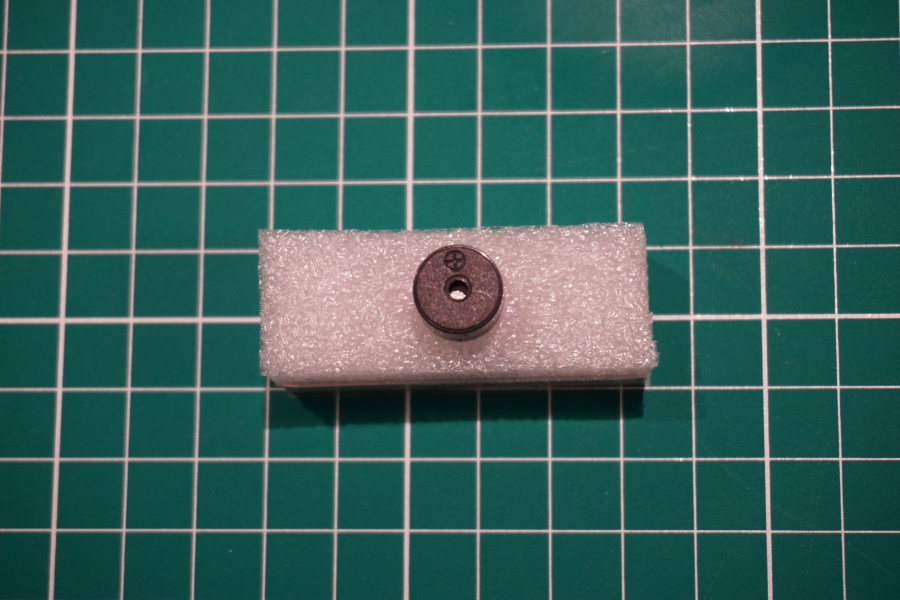
Passive Buzzer
受動ブザーの作動原理は、空気を振動させるために PWM 生成オーディオを使用することです。 振
動周波数がある限り適切に変更され、異なる音を発生させることができます。 たとえば、523Hz の
パルスを送信すると「ド」、587Hz のパルスで「レ」、659Hz のパルスで「ミ」を生成するこ
とができます。これらの特性を利用して曲を演奏することが出来ます。
回路を作ってみる
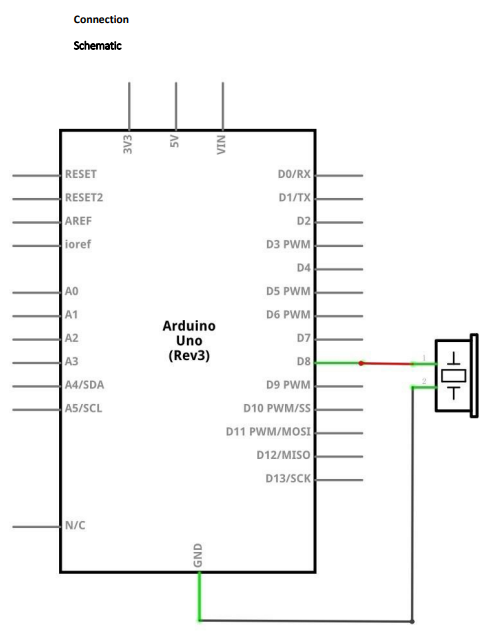
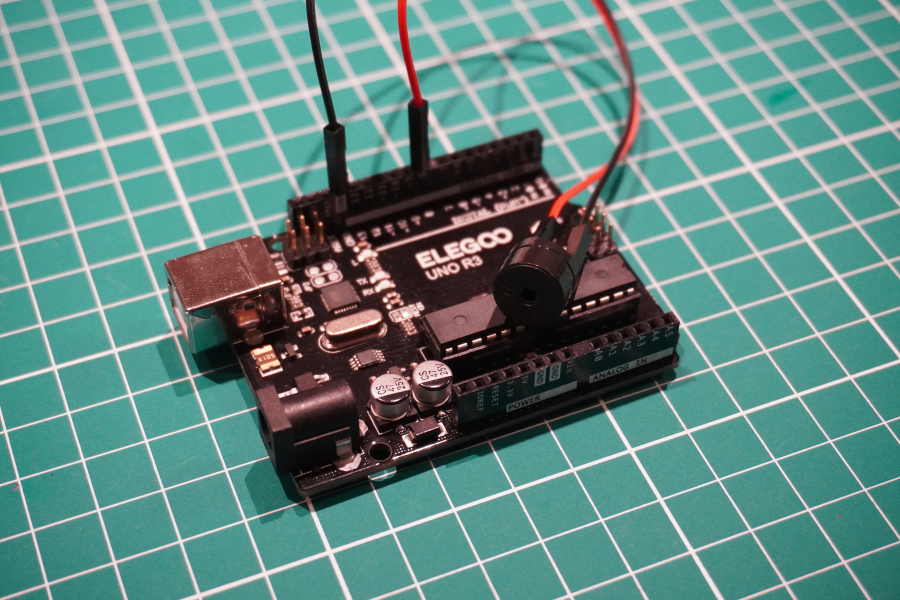
それでは実際に回路を繋いでみます。
プログラムを動かしてみる
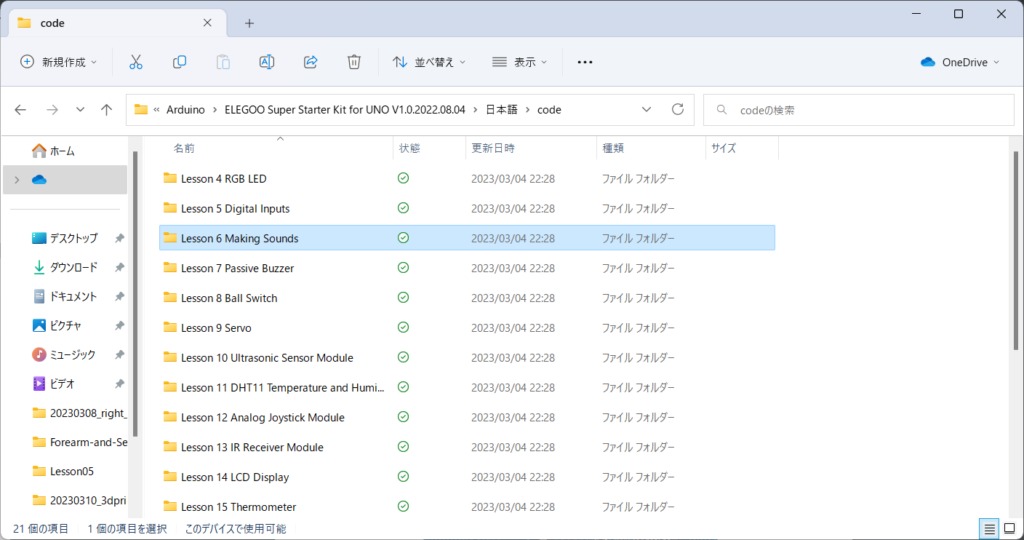
チュートリアルに付属しているコードを使って実際に動かしてみます
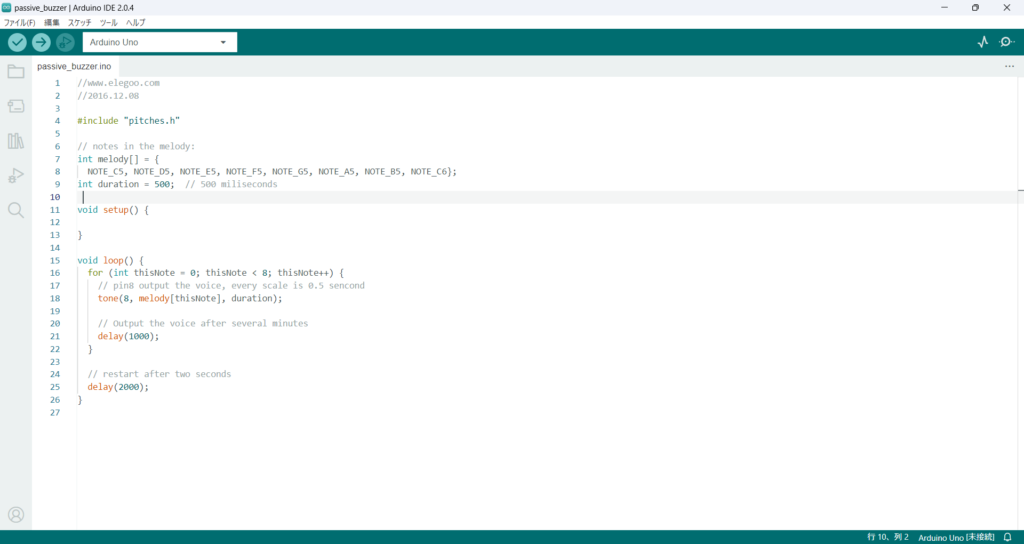
//www.elegoo.com
//2016.12.08

#include "pitches.h"

// notes in the melody:
int melody[] = {
  NOTE_C5, NOTE_D5, NOTE_E5, NOTE_F5, NOTE_G5, NOTE_A5, NOTE_B5, NOTE_C6};
int duration = 500;  // 500 miliseconds

void setup() {

}

void loop() {
  for (int thisNote = 0; thisNote < 8; thisNote++) {
    // pin8 output the voice, every scale is 0.5 sencond
    tone(8, melody[thisNote], duration);

    // Output the voice after several minutes
    delay(1000);
  }

  // restart after two seconds
  delay(2000);
}
コードをコンパイルしてアップロードしてみます。


コメント
This is really interesting, You’re a very skilled blogger. I’ve joined your feed and look forward to seeking more of your magnificent post. Also, I’ve shared your site in my social networks!
Thank you!
Valuable info. Lucky me I found your site by accident, and I’m shocked why this accident did not happened earlier! I bookmarked it.
Thank you, I hope I was able to provide you with the information you needed.
Greetings! I found this blog post to be incredibly informative and well-written. Your ability to break down complex topics into easy-to-understand language is truly a gift. Thank you for sharing your knowledge with us. I’m excited to read more of your posts in the future!
Thank you. I will do my best to post good articles.
Hi! I just finished reading your blog post, and I must say, it was excellent. Your ability to explain complicated concepts in a simple and engaging way is truly remarkable. Thank you for providing such valuable content. I can’t wait to read more from you in the future.
Thank you. I will do my best to post good articles.